
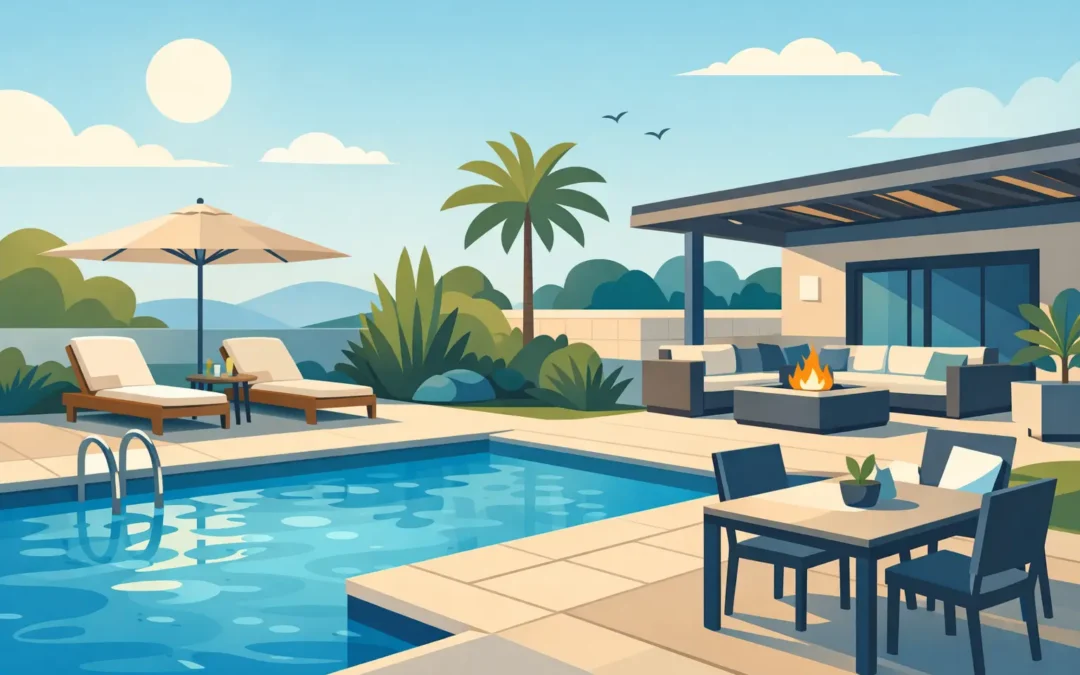
A strong pool and patio renovation example is not simply a new liner beside fresh interlock. It is a coordinated rebuild of how the backyard looks, drains, moves, and functions. For Ontario homeowners, the best results come from treating the pool, patio, grading, lighting, planting, and access points as one construction project rather than a series of separate upgrades.
Consider a common situation: an older in-ground pool is structurally sound, but the surrounding concrete has cracked and settled. The patio is too small for dining, the equipment is exposed, water collects near the house after a heavy rain, and the yard has no clear route from the back door to the pool. The goal is not to make every square foot hardscape. The goal is to create an outdoor space that is safer, easier to maintain, and built for the way the family actually spends time outside.
Pool and Patio Renovation Example: Starting Conditions
In this example, the property has a rectangular in-ground pool behind a detached home in York Region. The pool is roughly 16 by 32 feet, with an aging concrete surround and a narrow strip of grass between the patio and fence. The homeowners want room for six people to eat outdoors, two loungers near the shallow end, better privacy, and a cleaner view from inside the house.
The first decision is whether the pool shell needs more than cosmetic work. A renovation contractor should inspect the coping, visible concrete, liner condition or tile, plumbing, skimmers, returns, and equipment pad before planning finishes. Replacing patio stone before confirming the pool’s condition can create unnecessary disruption later if plumbing repairs or structural work are needed.
In this case, the pool shell and plumbing are serviceable. The project scope includes new coping, a liner replacement, upgraded plumbing connections at the equipment, and a complete rebuild of the surrounding hardscape. That is a practical renovation scope because it corrects the visible problems while addressing the systems that would be difficult to reach once the patio is installed.
The Layout: Build Zones Before Choosing Stone
The existing patio is expanded from a narrow walking strip into three connected zones. Closest to the house is a dining area large enough for a six-seat table with room to pull out chairs. Beside the pool’s shallow end is a sunning zone with space for loungers and a small side table. A third, more private sitting area is placed along the fence line, where a low retaining wall also handles a grade change.
The circulation path matters as much as the destination areas. A clear route runs from the back door to the pool gate and equipment access without forcing people through the dining space. Another route allows someone carrying food from the house to reach the table without crossing wet pool traffic. These details are easy to miss on a sketch, but they make the finished yard feel orderly instead of crowded.
The patio is kept broad around the pool where people walk barefoot, but it is not made uniformly wide. More square footage means more cost, more runoff to manage, and more surface to maintain. The renovation adds material where it supports a real use, then uses planting beds and a small lawn panel to soften the edges.
Materials Chosen for Ontario Conditions
For this project, large-format concrete pavers are selected for the main patio. They offer a clean, contemporary finish, a slip-resistant textured surface, and the ability to lift and reset individual units if future repairs are required. A contrasting coping material creates a defined pool edge without making the design overly busy.
Natural stone can deliver a more traditional or cottage-oriented look, while porcelain pavers offer consistent colour and low absorption. Neither is automatically the better choice. Natural stone has variation that many homeowners value, but it requires careful product selection, installation, and maintenance. Porcelain can be durable and refined, but installation details and the base system must be handled correctly. The right choice depends on the property style, budget, desired texture, and how exposed the site is to freeze-thaw cycles.
Material selection should also include the less visible work below grade. A patio performs only as well as its excavation, compacted granular base, edge restraint, bedding layer, and drainage plan. Skipping depth or compaction to reduce the quote may not show immediately, but settlement and shifting often reveal the difference after a few Ontario winters.
Drainage Is Part of the Design, Not an Add-On
Before demolition begins, the contractor establishes the intended finished elevations. The patio must drain away from the house, while pool decking must be graded to prevent water from sitting against structures or washing out joints. Where the property has limited fall, drainage channels, catch basins, or carefully planned swales may be required.
In this example, a linear drain is installed near the house-side patio transition, directing surface water away from the foundation area. The retaining wall is built with appropriate drainage stone and a drain pipe behind it, rather than relying on the face of the wall to hold back wet soil. Downspout discharge is also reviewed so roof water is not emptied onto the new patio.
This work is not the most photogenic part of a backyard renovation, but it protects the investment. Good drainage helps preserve the patio base, limits ponding around the pool, and reduces the risk of water being directed toward the home.
Construction Sequence That Prevents Rework
A full pool and patio renovation needs the right order of operations. The crew begins by protecting access routes and identifying utility locations. Existing concrete, unsuitable base material, old coping, and damaged landscaping are removed. If pool repairs, plumbing changes, or electrical upgrades are needed, they happen before the patio base is rebuilt.
The next stage is excavation and grading. The contractor establishes elevations, installs drainage components, builds and compacts the granular base, and constructs any retaining walls. Coping and pool work are completed before the field pavers are installed so the patio aligns cleanly with the pool edge.
Once the hardscape is in place, the project moves to finishing details: equipment screening, landscape beds, lighting, fencing adjustments, and sod or turf repairs. This sequence keeps different trades from tearing up completed work. It also gives the homeowner a clearer view of decisions that need to be made early, such as where lights, outlets, hose connections, gates, and equipment access will sit.
Finishing the Space Without Overbuilding It
The final design uses low-voltage lighting at steps, along the retaining wall, and near the pool gate. The objective is practical visibility and a comfortable evening setting, not a yard filled with fixtures. Warm lighting around walking routes is generally more useful than bright, indiscriminate illumination.
Planting is concentrated around the perimeter and at the corners of the patio. Ornamental grasses, hardy shrubs, and compact evergreens provide screening without taking over the usable space. Plants are selected with mature size in mind. A privacy hedge that is planted too close to the pool deck may look tidy in year one and become a maintenance problem a few seasons later.
A simple equipment screen is built with enough clearance for servicing pumps, heaters, and filters. This is a practical detail that protects the visual finish of the yard while avoiding a common mistake: boxing in equipment so tightly that every repair becomes more difficult.
Budget Decisions That Change the Result
On a project like this, the biggest budget drivers are usually demolition, excavation depth, drainage requirements, pool repairs, retaining walls, patio size, and material choice. Features such as a cabana, outdoor kitchen, fire feature, or custom water element can add value, but they should be planned around the core work rather than used to distract from poor layout or inadequate base preparation.
If budget needs to be controlled, it is often wiser to preserve the proper excavation, base, drainage, and coping details, then simplify a finish item. For example, a homeowner may choose a standard paver pattern instead of a complex inlay, or postpone a built-in kitchen while roughing in the necessary utilities during construction. Structural and below-grade work is expensive to revisit. Decorative additions are easier to phase later.
Permits, pool enclosure requirements, electrical work, and local grading considerations can also affect timing and cost. A contractor should identify these items during planning, especially where a renovation changes fence lines, adds structures, or alters drainage near property boundaries.
What Makes This Example Successful
The finished backyard is not successful because it has the most expensive stone or the longest feature list. It works because the pool has been repaired before being surrounded by new hardscape, the patio has defined uses, water has a controlled path, and every major element can be accessed and maintained.
For homeowners in the GTA, York Region, and cottage-country properties, this approach also reduces the stress of managing multiple trades. Green Machine Inc. can coordinate pool renovation, interlock, retaining walls, planting, fencing, and construction details under one project plan, which helps keep layout decisions and site conditions aligned from demolition through final cleanup.
A backyard should make daily life easier when the work is complete. Start with how you enter the space, where people gather, where water goes, and what will need service five years from now. Those answers will produce a better renovation than choosing the patio colour first.