A finished basement can look perfectly dry right up until the day the flooring swells, the baseboards stain, or that damp smell shows up and does not leave. If you are figuring out how to waterproof finished basement spaces, the first thing to know is this: the fix is rarely just one product. In most cases, you are dealing with a water-management problem, not a simple patch job.
That matters even more in Ontario, where freeze-thaw cycles, spring melt, heavy rain, and older foundation walls can all work against a lower level that was finished before moisture control was properly addressed. Once drywall, insulation, flooring, trim, and built-ins are in place, every leak gets more expensive.
How to waterproof finished basement spaces the right way
Waterproofing a finished basement starts with diagnosis. Before anyone cuts drywall or rolls on a coating, you need to know where the water is coming from and what form it is taking. Liquid water, vapour, condensation, and plumbing leaks can all look similar at first, but they are not solved the same way.
If you see water at the cove joint where the floor meets the wall, that often points to hydrostatic pressure around the foundation. If the wall itself is damp in isolated areas, you may be looking at cracks, failed parging, or grading problems outside. If the windows are wet or the air feels sticky in summer, condensation may be a bigger issue than an actual foundation leak.
The most common mistake homeowners make is treating the symptom they can see. Fresh paint over a stained wall, a dehumidifier in the corner, or new vinyl plank over a damp slab can buy time, but it does not solve the source. In a finished basement, that usually means the damage keeps spreading behind the surfaces.
Start outside before opening up the basement
A lot of basement water problems begin well beyond the interior wall. That is why exterior conditions should be checked first, even if the damage is showing indoors.
Look at grading around the home. Soil should slope away from the foundation, not toward it. Over time, backfill settles, patios shift, and garden beds get built up too high. Water then collects beside the wall and increases pressure against the foundation.
Gutters and downspouts are another major factor. If they are clogged, undersized, or discharging too close to the house, you are sending roof water straight into the problem area. In many cases, extending downspouts and correcting grade can significantly reduce basement moisture before any interior work starts.
Window wells also deserve attention. If they fill during storms or do not drain properly, water can get in through basement windows and framing. The same goes for cracked parging, failed sealant around utility penetrations, and old mortar joints on block foundations.
If exterior water management is clearly failing, interior repairs alone are not enough. You may still need work inside, but the long-term solution starts with keeping as much water away from the foundation as possible.
When interior demolition is necessary
If your basement is fully finished, there is no shortcut around one hard truth: sometimes you have to open it up to fix it properly. Drywall, insulation, and finished flooring can trap moisture, hide mould growth, and prevent a proper inspection of the wall and slab.
That does not always mean gutting the whole basement. A controlled opening in the affected area may be enough to confirm whether the issue is a foundation crack, a leaking tie-rod hole, seepage at the floor joint, or moisture wicking through the slab. The goal is to expose enough to diagnose without creating unnecessary reconstruction.
This is where experience matters. A contractor who handles both demolition and refinishing can approach the work with the end result in mind, not just the tear-out. That helps avoid the all-too-common situation where one trade opens the problem and another trade later tries to piece the basement back together.
Interior waterproofing vs exterior waterproofing
Homeowners often ask which is better, interior or exterior waterproofing. The honest answer is that it depends on the source of water, access to the foundation, and the construction of the home.
Exterior waterproofing is usually the more complete repair when water is entering through foundation walls. It involves excavating to the footing, repairing cracks, applying a waterproof membrane, and installing or upgrading drainage. This stops water before it reaches the inside face of the wall. It is effective, but it is also more invasive and expensive, especially around decks, porches, driveways, landscaping, or tight lot lines.
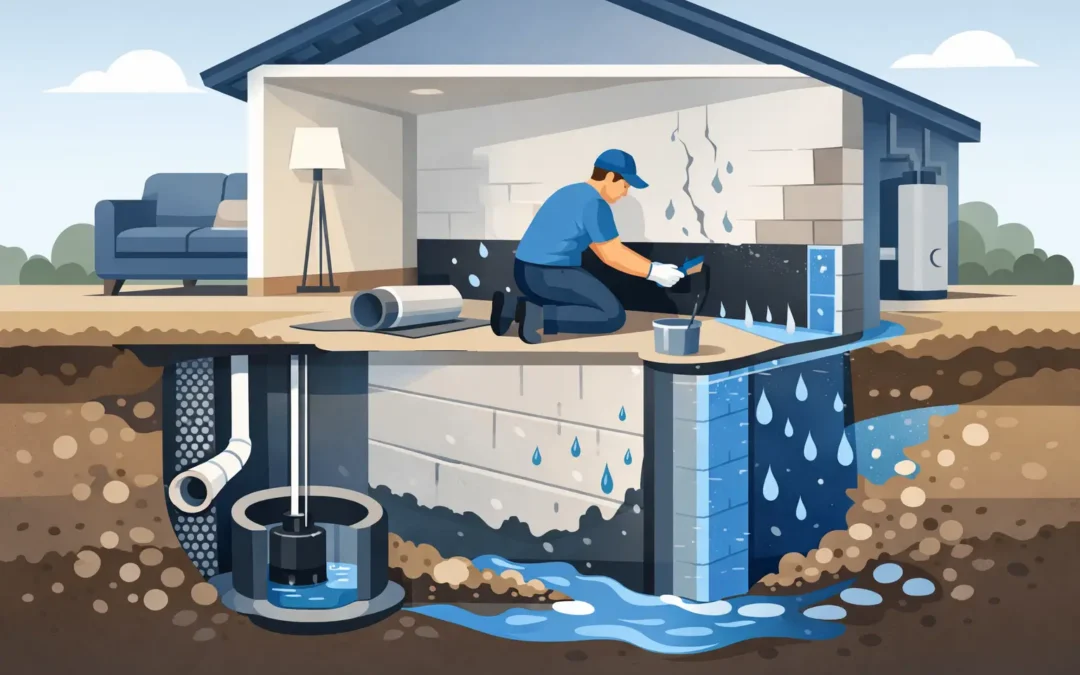
Interior waterproofing is more about controlling and redirecting water that has already reached the foundation. This can include an interior drainage system along the perimeter, a sump pit and pump, vapour management, and wall systems designed to allow controlled drainage. In a finished basement, interior systems are often the practical option when exterior excavation is not feasible.
Neither method is universally right. If you have a single foundation crack in an accessible area, an exterior crack repair may make the most sense. If you have ongoing seepage at the floor joint across multiple walls, an interior drainage system may be the better investment.
Foundation cracks, floor seepage, and hidden weak points
Poured concrete walls can crack from settlement, shrinkage, or lateral pressure. Block foundations have their own issues, including mortar deterioration and water movement through hollow cores. Finished basements can hide these problems for years.
A vertical crack is not automatically structural, but it should not be ignored if it is leaking. An epoxy or polyurethane injection may be appropriate in some cases, but only if the crack is properly assessed first. If movement is ongoing, a cosmetic repair will not last.
Water entering where the wall meets the floor is another common problem. This area often leaks when groundwater pressure rises below the slab. A perimeter drainage system tied to a sump pump is often used in these situations. It is not glamorous work, but it is often what keeps a lower level dry through heavy rain and spring runoff.
Then there are the less obvious entry points – around service lines, under stair landings, at cold joints, and beneath finished subfloors. Waterproofing a finished basement properly means accounting for all of them, not just the stain you can see today.
Flooring, insulation, and materials that hold up better
If part of the basement needs to be rebuilt, material choice matters. A basement is not the same environment as the main floor, and it should not be finished the same way.
Organic materials close to concrete are more vulnerable. Standard batt insulation, MDF trim, carpet with thick underpad, and laminate flooring can all suffer quickly when moisture gets in. That does not mean every basement must look utilitarian, but the assemblies need to be selected with below-grade conditions in mind.
Rigid insulation, moisture-tolerant wall systems, tile in high-risk areas, and carefully chosen vinyl flooring can all make sense depending on the use of the space. Mechanical ventilation and dehumidification also play a role, especially in basements used as gyms, rec rooms, or rental suites.
This is one of those areas where the cheapest finish can become the most expensive. If you are already opening walls and floors, it is worth rebuilding with materials that give you a better margin of safety.
Moisture control is not just about leaks
Some basements are technically waterproofed but still feel damp. That is usually a humidity and air-sealing issue rather than direct water entry.
Cool concrete surfaces can create condensation in summer, especially when warm humid air enters the basement. Ductwork can sweat, corners can stay cool, and furniture placed tight to exterior walls can block airflow. Over time, that can lead to musty smells and surface mould even without visible flooding.
A properly sized dehumidifier helps, but it should not be your only strategy. Air sealing, insulation details, bathroom exhaust, and balanced HVAC performance all affect how dry a finished basement feels year-round.
When to call in a contractor
If the issue is limited to a simple downspout extension or minor grading correction, you may be able to handle it yourself. Once water has affected finished walls, flooring, or framing, it is usually time to bring in a contractor who can assess both the cause and the rebuild.
That is especially true if the basement has recurring moisture, signs of mould, foundation cracks, sump pump concerns, or a combination of interior and exterior problems. In those cases, a piecemeal approach often costs more because one partial fix leads to another.
For homeowners in York Region, the GTA, and surrounding communities, that often means finding a contractor who can look at the full scope – drainage, foundation access, demolition, framing, drywall, and refinishing – rather than handing you a list of separate trades to coordinate. That is the kind of work Green Machine Inc. is built to manage.
If your basement is finished and showing signs of moisture, the best next step is not to cover it up. It is to find the path the water is taking, fix that first, and rebuild only once the space is ready to stay dry.