
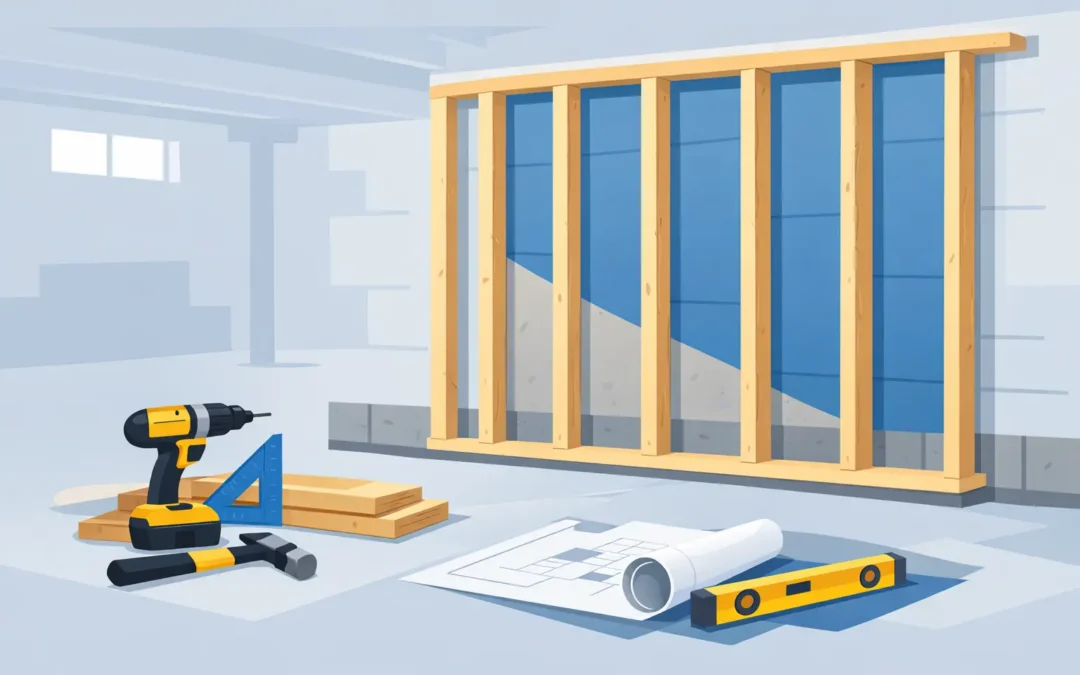
A basement can look straightforward until you start laying out walls and realize the concrete is not perfectly square, the floor slopes, and every mechanical line seems to be in the way. That is why knowing how to frame basement walls properly matters. Good framing sets up everything that follows – insulation, electrical, drywall, doors, and trim – and mistakes at this stage are expensive to hide later.
Before you frame basement walls, start with the basement itself
Basement framing is not the same as framing above grade. Concrete foundation walls can hold moisture, floors are often uneven, and clearances around ductwork, beams, plumbing, and electrical runs usually force adjustments. If you frame too quickly without checking conditions, you can end up with wet insulation, bowed walls, or a finished basement that never feels right.
The first job is making sure the space is dry. If the basement has active leaks, damp spots, white mineral staining, or a history of water entry, solve that before any framing begins. New walls should never be used to hide a foundation problem.
You also need to think about the purpose of the space. A simple storage room can tolerate a more basic layout. A legal secondary suite, home office, rec room, or bedroom has stricter requirements for egress, ceiling height, smoke alarms, sound control, and electrical planning. In Ontario, code compliance is not something to figure out halfway through the job.
How to frame basement walls: the right layout comes first
Most basement walls are framed with wood studs set slightly away from the concrete foundation wall rather than tight against it. That gap matters. It gives room for irregularities in the concrete, helps avoid direct wood-to-concrete contact, and leaves space for insulation details and service routing where needed.
Pressure-treated lumber is typically used for the bottom plate where it sits on concrete. A sill gasket or foam strip under that bottom plate is also common because it helps reduce moisture transfer and minor air leakage. Standard SPF studs can then be used for the vertical framing unless a specific condition calls for something different.
Layout should be snapped carefully on the slab before any lumber is cut. Start by finding the straightest reference line, then measure off the foundation wall while accounting for the thickness of insulation and the desired air space. In older basements, do not assume opposite walls are parallel. Measure in several spots.
This is also the stage to plan around bulkheads, posts, utility rooms, windows, and access panels. A basement can be framed quickly, but smart layout saves more time than fast cutting ever will.
Leave room for moisture management
One of the biggest mistakes in basement finishing is treating the foundation wall like an interior wall. It is not. Concrete absorbs and releases moisture, and that changes how the wall assembly should be built.
In many cases, rigid foam insulation is installed directly against the foundation wall before the stud wall is framed in front of it. That approach helps with thermal performance and reduces the risk of condensation inside the wall cavity. Batts alone against concrete are often not the best choice because if moisture reaches them, they can lose effectiveness and contribute to mould issues.
The exact assembly depends on the age of the house, the condition of the basement, and local code requirements. This is one of those areas where the right answer depends on the building, not just the material you happen to have on site.
Building the wall sections
Once the layout is marked, wall sections are usually built on the floor and then tilted into place, provided there is enough headroom. In tighter basements, the wall may need to be assembled in place. Either method can work if measurements are accurate.
Stud spacing is commonly 16 inches on centre, though 24 inches on centre may be permitted in some situations depending on loads, finishes, and code requirements. For most finished basements, 16 inches on centre gives a solid, predictable wall for drywall and trim.
Cutting for a basement is rarely as simple as using one stud length for the entire space. Slabs slope. Beams drop. Mechanical lines interrupt clean runs. Check floor-to-joist measurements often and adjust as needed. A wall that is level on top and properly supported on the bottom matters more than matching every stud to one dimension.
When the wall is stood up, it should be plumbed and fastened securely. The top plate is typically attached to the floor joists above, and the bottom plate is anchored to the concrete slab with appropriate fasteners. The connection method matters because basement walls can shift if they are not tied in properly.
Framing around windows and services
Basement windows need careful treatment, especially if the finished space includes bedrooms or any use where egress requirements apply. Rough openings must be sized correctly, and the wall should be framed so insulation, vapour control, and trim can all be completed without crowding the opening.
Mechanicals are where many basement framing plans get tested. Duct trunks, plumbing stacks, shutoffs, cleanouts, gas lines, electrical panels, and future service access all need room. It is better to frame with those realities in mind than to box everything in later with awkward bulkheads.
Electrical panels need working clearance. Shutoff valves should stay accessible. Sump pumps should not end up buried behind finished walls. These details affect not just convenience, but safety and serviceability.
Common mistakes when framing a basement
The most common error is framing tight to the concrete wall with no insulation strategy and no moisture plan. That can create a wall assembly that looks fine on day one and starts causing trouble once seasonal humidity changes.
Another common issue is ignoring floor variation. If the bottom plate follows a wavy slab without proper planning, the finished wall may look acceptable until cabinets, doors, or trim go in. Then the unevenness shows up quickly.
Poor fastening is another problem. A basement wall that is not anchored correctly can move, squeak, or crack at drywall joints. This is especially true around long runs or where framing needs to carry doors.
Then there is overframing. Homeowners sometimes assume every pipe and duct should be hidden at any cost. The result can be a maze of tiny soffits and unnecessary boxed sections that make the ceiling feel lower than it needs to. A cleaner design usually comes from accepting a few well-planned bulkheads instead of trying to force a perfectly flat ceiling through a crowded basement.
Wood or steel studs?
For many basement projects, wood framing is still the practical choice. It is familiar, strong, easy to shim, and straightforward for attaching trim, doors, and built-ins. In basements with lots of irregular surfaces, wood also gives installers more flexibility.
Steel studs can make sense in some commercial applications or in specific residential conditions, but they are not automatically better just because they are metal. They still need a proper moisture strategy, and they can be less forgiving when the existing structure is uneven. For a typical Ontario basement renovation, wood remains common for good reason.
Permits, code, and when to bring in a contractor
If the project includes bedrooms, bathrooms, secondary suites, structural changes, or major electrical and plumbing work, permits are often required. Even when a permit is not strictly required for basic non-structural framing, code still matters. Fire blocking, smoke alarm placement, insulation values, vapour control, stair geometry, and minimum clearances all affect the final result.
That is where experience counts. Framing a basement is not just standing up a few 2×4 walls. It is coordinating structure, moisture control, insulation, finishes, and future trades so the whole space works together. For homeowners planning a full basement renovation, working with a contractor that understands both interior framing and broader construction scope can prevent a lot of rework.
Green Machine handles full-scale build projects across the GTA and York Region, and that kind of integrated approach matters in basements where one decision affects every trade behind it.
A practical sequence that works
If you want a clean process, keep the order disciplined. Confirm the basement is dry and the design is code-ready. Finalize the layout with insulation and service clearances in mind. Install the moisture and insulation components required for the wall assembly. Frame, plumb, and anchor the walls. Then move to electrical, plumbing, blocking, and drywall preparation.
Skipping ahead usually costs time. So does framing before you have resolved the awkward parts of the basement. The best basement builds are rarely the fastest on day one. They are the ones that stay predictable from rough framing through final paint.
A well-framed basement should disappear once the job is finished. The walls should feel straight, the rooms should make sense, and nothing behind the drywall should be there by guesswork.